Encrypt the connectionStrings in web.config files
In most environments, the Vendor Online Application
and Vendor Online Price Survey
application module
environments are configured to use web.config
files on the server; however, some state environments (like Missouri,
for example) are configured to use a machine.config
file instead to configure the Vendor Online Application
and Vendor Online Price Survey
application module
environments on the server.
If your state environment is configured to use a
machine.config file to configure the Vendor Online Application
and Vendor Online Price Survey
application module
environments on the server, please refer to the Encrypt the connectionStrings in a machine.config file
tutorial instead.
If your state environment is configured to use web.config files to configure the Vendor Online Application
and Vendor Online Price Survey
application module
environments on the server, please proceed with the steps below to encrypt
the web.config files on the server.

|
NOTE:
The steps provided in this documentation are not
intended for environments that use complex large load balanced
or clustered IIS web farms. If your state’s environment uses a
large load balanced or clustered IIS web farm, a shared or custom
RSA key (or possibly even a custom provider) may be necessary
to successfully encrypt the configuration files in your environment.
Please see guidance on ASPNET_REGIIS switch options from Microsoft (or another preferred
knowledge base) for more information about these advanced scenarios. |
Complete the following steps to Encrypt the connectionStrings in web.config files:
1. Log in
or remotely connect as an administrator to the server where the Vendor Online Application
and Vendor Online Price Survey
application modules
are deployed in your state's environment.
2. Backup
the current web.config files on the server.
Typically, these files are stored in the following folder locations, but
the paths may differ in your state's environment:

|
NOTE:
In the paths listed above, {drive letter}
and {agency} are variables that are unique to your state's environment. |
3. Run the
Command Prompt
as an administrator. The Administrator: Windows Command Processor
screen displays.
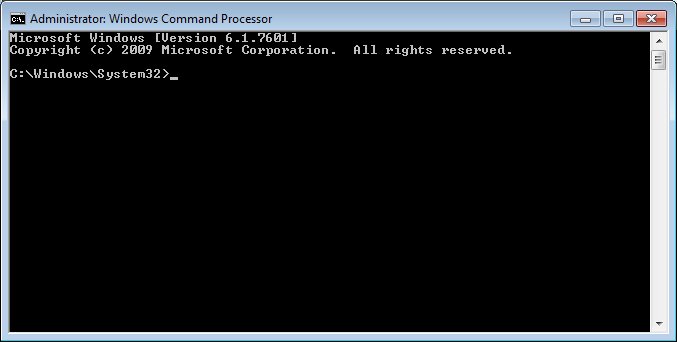
Administrator: Windows Command Processor
screen

|
NOTE:
If the Windows Command Processor
screen does
not show "Administrator:" in the title bar
text, then the Command Prompt
is not running in administrator mode. The Command Prompt
must be run as an administrator to successfully complete the steps
in this tutorial. |
4. Change
the directory to the {drive letter}:\Windows\Microsoft.NET\Framework\{version}\
folder for the .NET Framework Version
that is currently running on the server in your state's environment.

|
NOTE:
In the path listed above, {drive letter}
and {version} are variables that are unique to your state's environment. |
Internet Information Services (IIS)
Application Pools can be used to verify which .NET Framework Version
is currently running on the server in your environment, Launch IIS Application
Pools, select
your state agency, and view Advanced Settings.
In most environments, Vendor Online Application
and Vendor Online Price Survey
run on 32-bit .NET Framework Version
v2.0; however, your state's environment may differ.
For example, the image below depicts a Chickasaw
environment that is running 64-bit .NET Framework Version
v2.0.
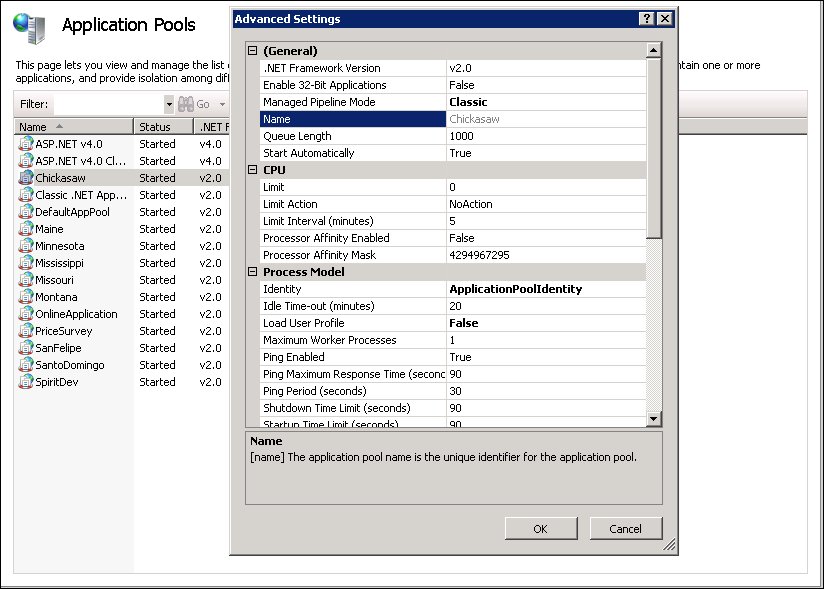
IIS Application Pools - Advanced Settings
screen
In the example above, the folder for the 64-bit .NET Framework Version
v2.0 is {drive letter}:\Windows\Microsoft.NET\Framework64\{version}\.

|
NOTE:
In the path listed above, {drive letter} and {version} are variables
that are unique to your state's environment. |
However, the exact version number of the 64-bit .NET Framework Version
v2.0 may differ in your state's environment. To determine the exact version
number of the 64-bit .NET Framework Version
v2.0 referenced in this example, enter
the following command at the Command Prompt
and press the Enter
key on your keyboard:
cd c:\Windows\Microsoft.NET\Framework64\
The Command Prompt
places focus within the c:\Windows\Microsoft.NET\Framework64\
folder.
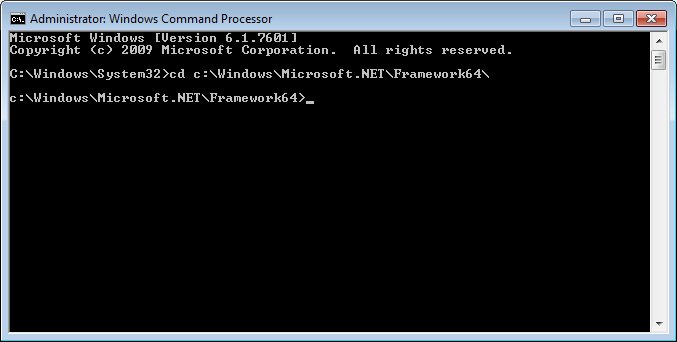
Administrator: Windows Command Processor
screen (c:\Windows\Microsoft.NET\Framework64\
folder)
Enter
the following command at the Command Prompt
and press the Enter
key on your keyboard to
see the directory list within the folder:
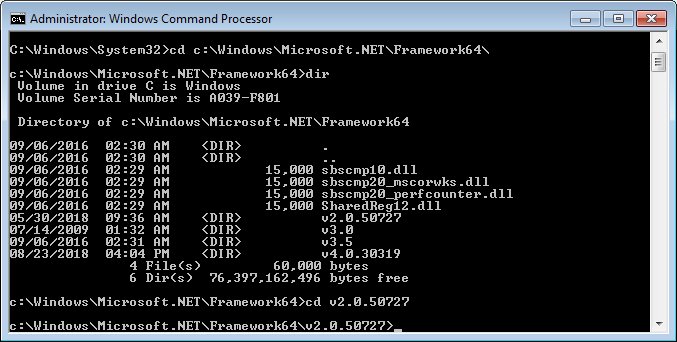
dir
The Command Prompt
lists all files and folders within the current folder.

Administrator: Windows Command Processor
screen (dir of c:\Windows\Microsoft.NET\Framework64\
folder)
In the depiction above, the folder for the .NET Framework Version
v2.0 is c:\Windows\Microsoft.NET\Framework64\v2.0.50727\.
To place focus in the Windows\Microsoft.NET\Framework64\v2.0.50727\
folder, enter
the following command at the Command Prompt
and press the Enter
key on your keyboard:
cd v2.0.50727
The Command Prompt
places focus within the c:\Windows\Microsoft.NET\Framework64\v2.0.50727\
folder.
Administrator: Windows Command Processor
screen (dir of c:\Windows\Microsoft.NET\Framework64\v2.0.50727
folder)
5. Once
focus at the Command Prompt
is placed in the appropriate folder for the .NET Framework Version
currently running in your state's environment, enter
the following command and press the Enter
key on your keyboard:
ASPNET_REGIIS -pef "connectionStrings" "{drive
letter}:\WIC\Sites\{agency}\OnlineApplication"

|
NOTE:
In the path listed above, {drive letter}
and {agency} are variables that are unique to your state's environment.
Additionally, in the command above, the "connectionStrings"
reference is case-sensitive and must be entered
exactly as presented above. You can copy the command above and
paste it by right-clicking
on the Command Prompt
window and
selecting the Paste
menu option
from the menu
that displays. Then, use the arrow keys
on the keyboard to navigate to and change the {drive letter} and
{agency} variables to match your state's environment. |
If the command runs successfully, the connectionStrings
section in the web.config file for the Vendor Online Application
is now encrypted.
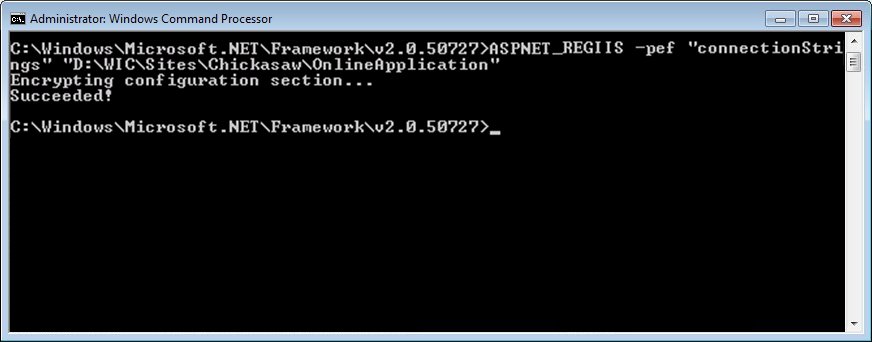
Administrator: Windows Command Processor
screen (successful
encryption of the connectionStrings in the web.config file for VOA)
6. Enter the following
command at the Command Prompt
and press the Enter
key on your keyboard
ASPNET_REGIIS -pef "connectionStrings" "{drive
letter}:\WIC\Sites\{agency}\PriceSurvey"

|
NOTE:
In the path listed above, {drive letter}
and {agency} are variables that are unique to your state's environment.
Additionally, in the command above, the "connectionStrings"
reference is case-sensitive and must be entered
exactly as presented above. You can copy the command above and
paste it by right-clicking
on the Command Prompt
window and
selecting the Paste
menu option
from the menu
that displays. Then, use the arrow keys
on the keyboard to navigate to and change the {drive letter} and
{agency} variables to match your state's environment. |
If the command runs successfully, the connectionStrings
section in the web.config file for the Vendor Online Price Survey
is now encrypted.
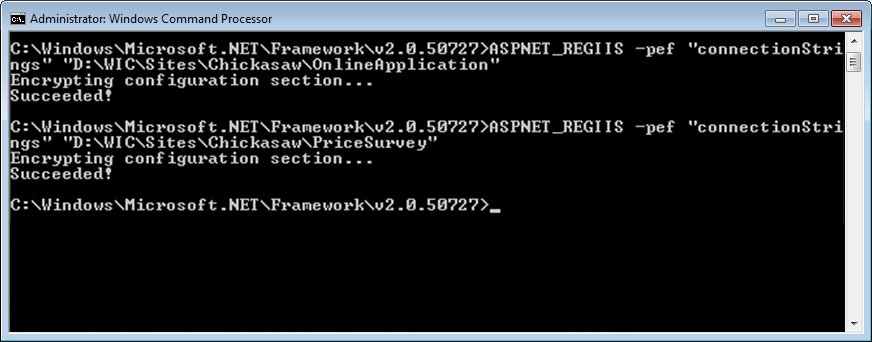
Administrator: Windows Command Processor
screen (successful
encryption of the connectionStrings in the web.config file for VOPS)
7. To confirm
that the connectionStrings in a specific web.config
file were encrypted, open the web.config
file and locate the <connectionStrings>
section. If the information displayed in the <connectionStrings>
section is no longer in plain text, the encryption was a success.
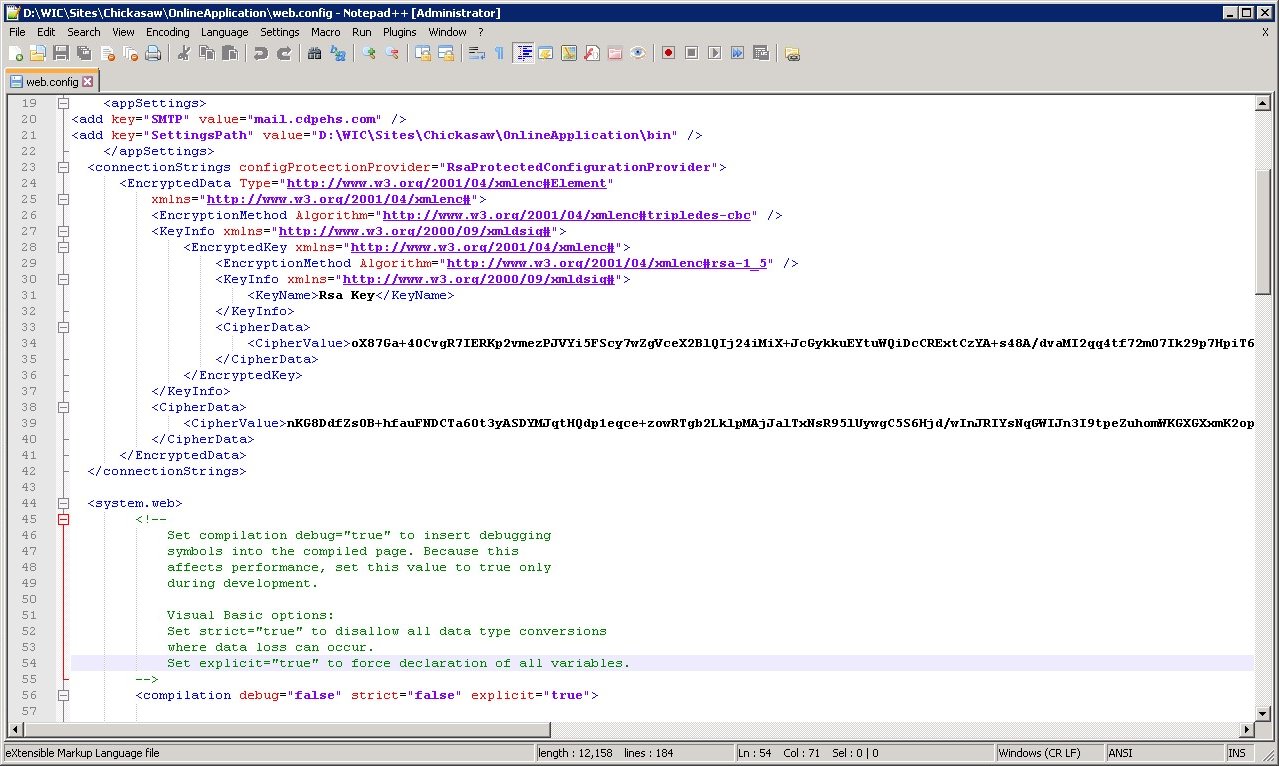
Encrypted <connectionStrings> in a
web.config file
8. Enter the following
command at the Command Prompt
and press the Enter
key on your keyboard to
reset Internet Information Services (IIS):
iisreset
IIS resets and the Command Prompt
updates to show that IIS services were stopped and restarted.
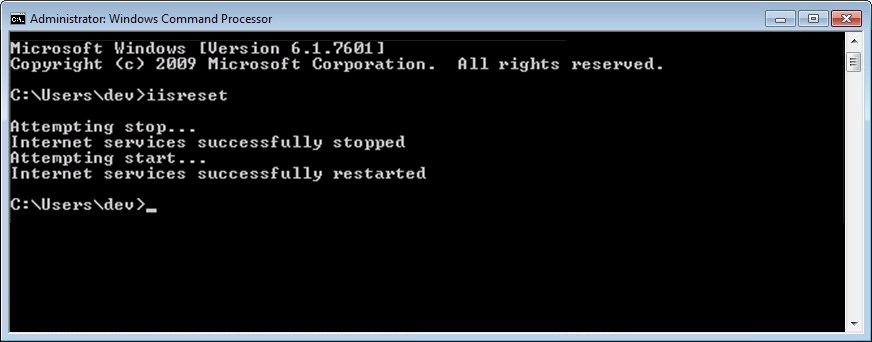
Administrator: Windows Command Processor
screen (iisreset)
If the encryption was not
successful, complete the steps in the Fix an unsuccessful web.config file encryption
tutorial.
If you need to decrypt the connectionStrings in the
machine.config file at a later date, complete
the steps in the Decrypt the connectionStrings in a web.config file
tutorial.
See Also:
|
Software Version: 2.40.00


