Contents Show
In order for a user’s computer to be able to submit faxes, the following installation steps must be performed on the user’s client machine. The Microsoft Windows Faxing Service must be installed to enable the faxing functionality described in this documentation. Follow the steps below to complete installation of the Microsoft Windows Faxing Service on a client machine.
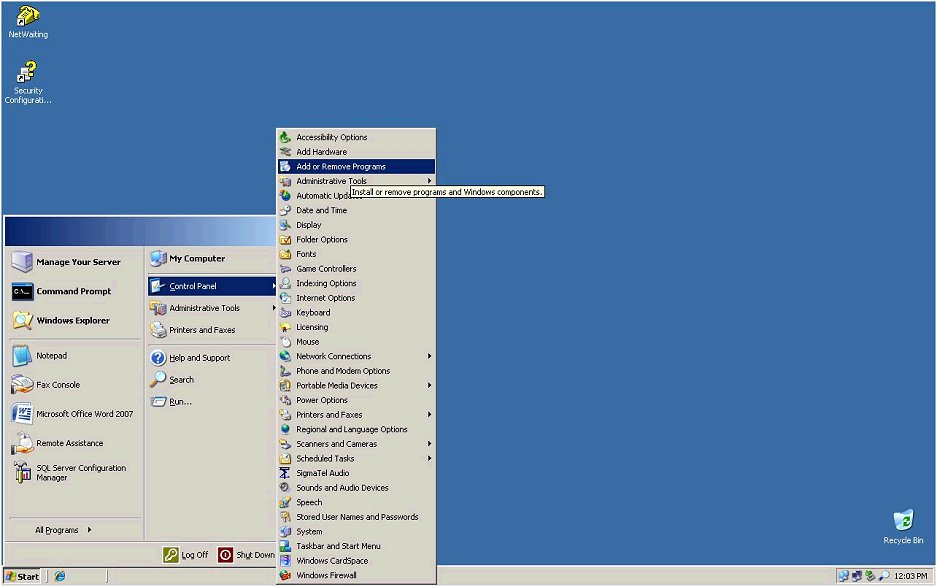
Click Start -> Navigate To Control Panel -> Add or Remove Programs.
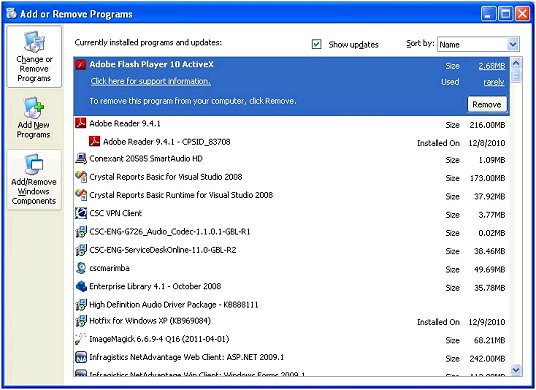
Click Add/Remove Windows Components.
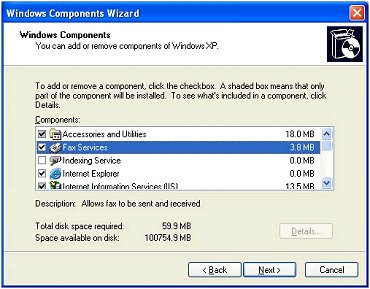
Check the Fax Services check box and then click Next.
This will complete installation of the Microsoft Windows Faxing Service on a client machine.
In order for faxes to be submitted to a fax server, the Microsoft Windows Faxing Service must be installed on the designated fax server to enable the remote faxing functionality described in this documentation for the user. Follow the steps below to complete installation of the Microsoft Windows Faxing Service on a fax server.
Click Start -> Navigate To Control Panel -> Add or Remove Programs.
Click Add/Remove Windows Components.
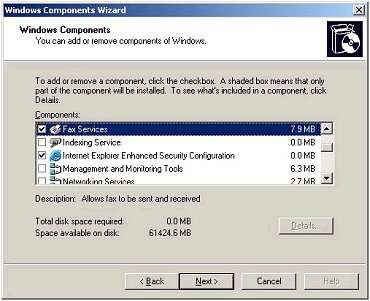
Select the Fax Services check box and then click Next.
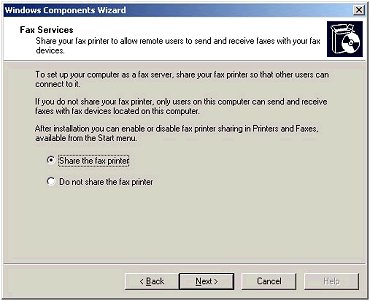
Select the Share the fax printer radio button and then click Next.
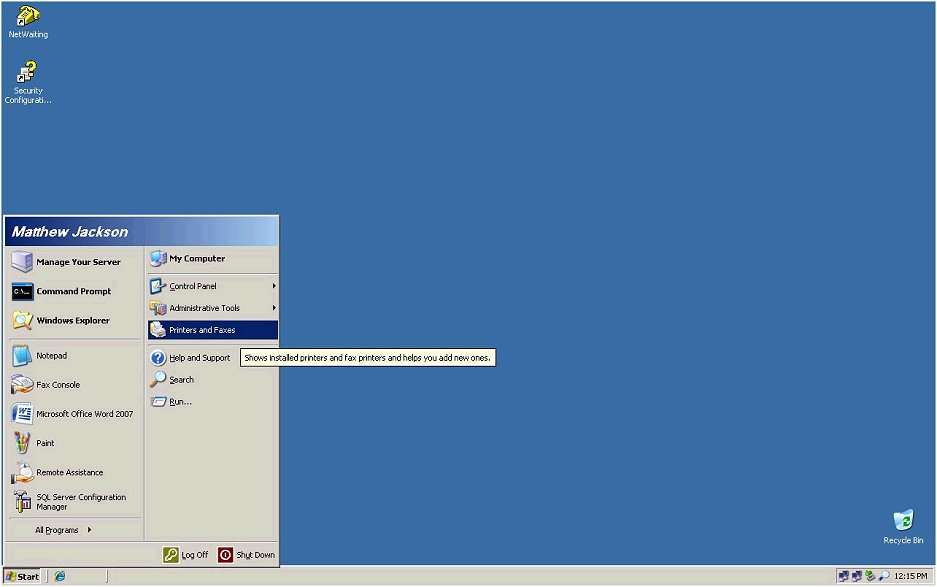
Click Start -> Navigate To Printers and Faxes.

Right-click on the Fax Printer and then click Properties.
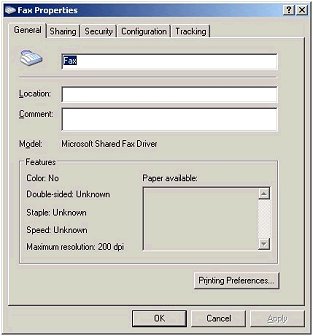
Navigate to the text box above that contains the word Fax.
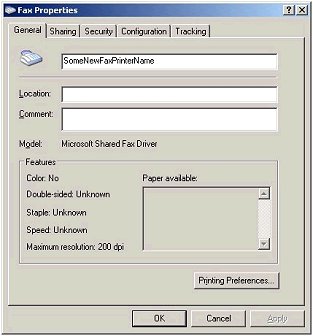
Type in a new fax printer name that identifies the usage of the fax printer.
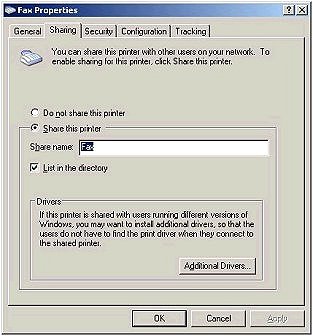
Navigate to the Sharing tab, ensure that the Select the Share this Printer radio button is selected then select the text box with the Share Name of Fax.
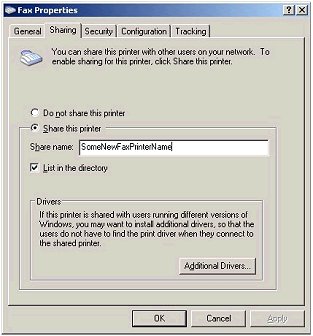
Type in a new fax printer name that identifies the usage of the fax printer.
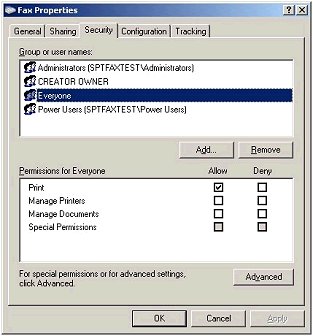
Navigate to the Security tab, then select Everyone.
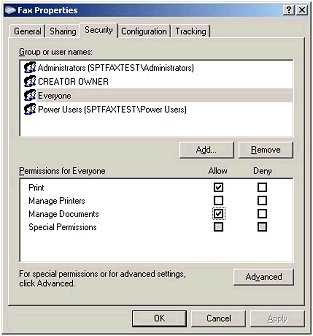
Select the Manage Documents - Allow check box.
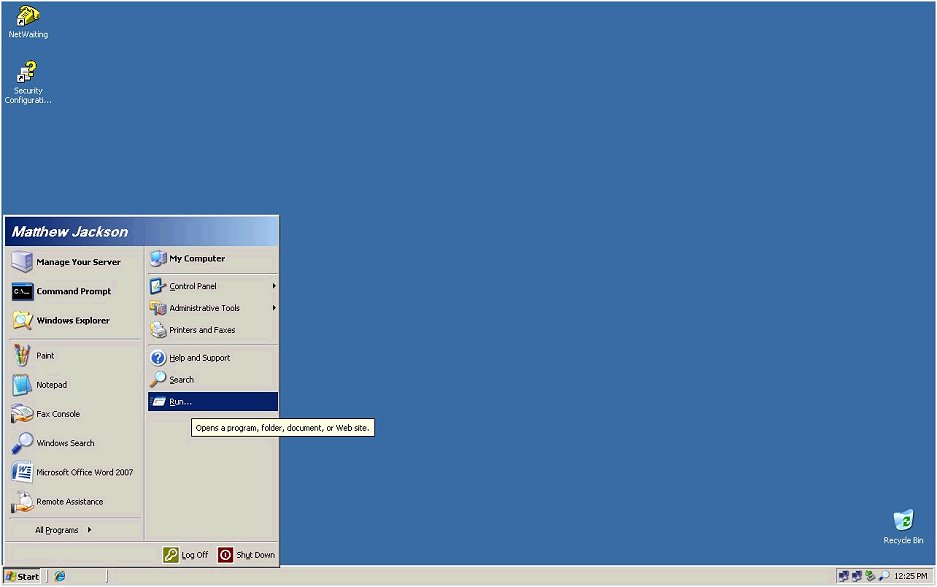
Click Start -> Navigate to Run.
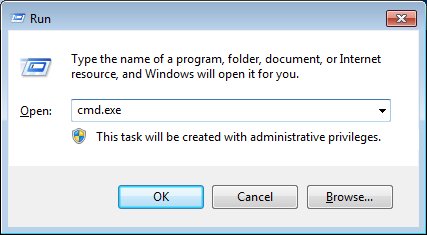
Type cmd.exe as pictured above then click the OK button.
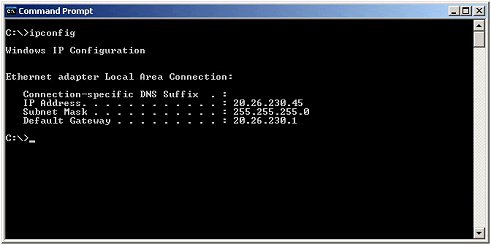
Type ipconfig as pictured above then press the Enter key.
Make a note of the fax server’s IP address, and the Fax Printer share name specified earlier. This information will be used to finish client setup so that users can remotely submit faxes. This completes the installation of the Microsoft Windows Faxing Service on a fax sever.
In order for faxes to be submitted to a fax server, The Microsoft Windows Faxing Service must be installed on a designated user’s machine to enable the remote faxing functionality described in this documentation for to the user. In addition, the user must add the shared fax printer of the remote fax server to be able to submit faxes to the remote fax server. Follow the steps below to complete additional client setup required to remotely submit faxes.
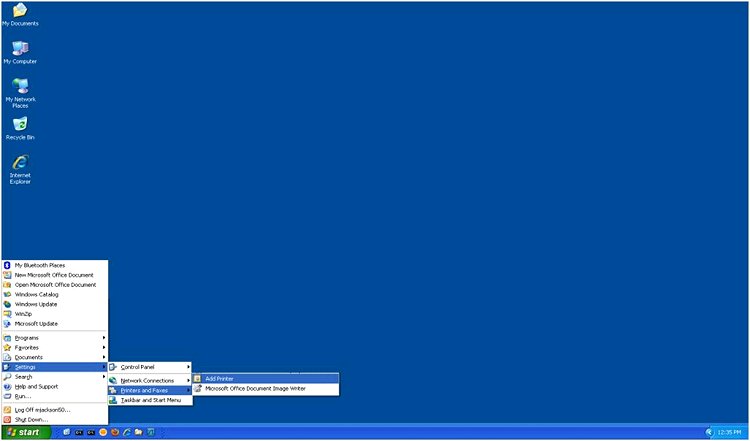
Click Start then Navigate to Settings -> Printers and Faxes -> Add Printer.
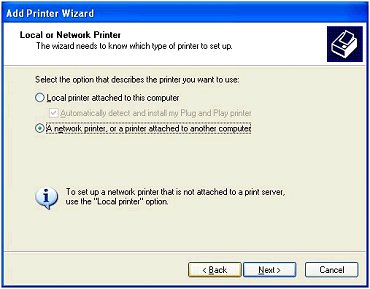
Select the A network printer, or a printer attached to another computer radio button then click Next.
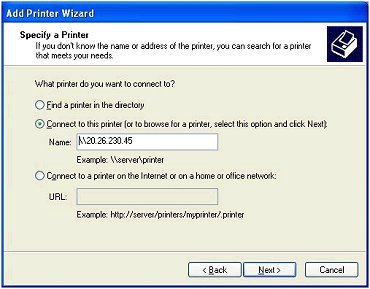
Select the Connect to this printer radio button, then type in the fax server’s IP Address in the format pictured above (IE \\FaxServerIP).

At the inputted fax servername type \ then type in the shared fax server’s fax printer in the format pictured above (IE \SharedFaxPrinterName). The final result should have the format of \\FaxServerIP\SharedFaxPrinterName. After this is done, click Next.
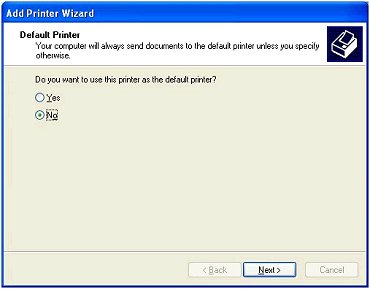
Select the No radio button, to ensure that the shared Fax Printer will not be the user’s default printer then click Next.
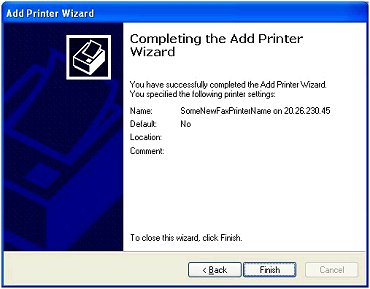
This screen should display after the Shared Fax Printer has been added to the User’s System. Click Finish to close the screen.
This completes the additional client setup required to remotely submit faxes. The user’s computer should now allow the remote submission of faxes.
|
Software Version: 2.40.00
![]()